






Care & Cleaning
Candle Wax Removal & Care Guide
Every surface needs a different approach. Here is the method for clothes, carpet, walls, wood, upholstery, glass and skin — and the burn habits that prevent spills in the first place.
Custom Candle Co Studio Team · 11 min read · Updated
Spilled wax looks like a disaster and almost never is. Wax is a solid that briefly pretends to be a liquid, which means nearly every removal method comes down to one of two moves: make it hard and lift it, or make it soft and absorb it. Choosing the wrong one — scrubbing at liquid wax with a wet cloth, for instance — is what turns a small spill into a stain.
This guide covers the surfaces people actually spill on, in order of how often it happens. Each method lists what you need, what to do, and the specific mistake that ruins that surface. At the end there is a short section on burn habits, because the cheapest wax removal is the spill that never occurred.
The two rules that cover every surface
Before the surface-by-surface methods, understand the logic. Once you know which of the two rules applies, you can improvise on a surface this guide does not list.
- Harden and lift. For anything non-porous or shallow — glass, sealed wood, tile, hard floors, skin — chill the wax until it is brittle, then break the bond mechanically. Wax shrinks slightly as it cools, which loosens its grip for you.
- Soften and absorb. For anything porous or woven — clothing, carpet, upholstery, unsealed wood — reheat the wax through an absorbent barrier so it wicks upward into the barrier instead of downward into the fibres.
Removing candle wax from clothes and fabric
This is the most common spill and the most forgiving, provided you resist the urge to rub. The method is harden-then-soften: freeze the bulk off, then heat the residue out.
What you need
- A freezer or a bag of ice
- A blunt edge — a butter knife, an old credit card or a spoon
- Brown paper, a plain paper towel or a clean cotton cloth
- An iron on its lowest setting, or a hairdryer
- Dish soap or a solvent-based stain remover
The method
- Let the wax harden fully. If the garment fits, bag it and put it in the freezer for 30 minutes; ice in a sandwich bag works for anything larger.
- Flex the fabric to crack the wax, then scrape the raised bulk away with the blunt edge held almost flat. Do not dig with a corner — you will pull threads.
- Sandwich the remaining film: paper on the work surface, garment stain-down, more paper on top.
- Press with a warm — not hot — iron in short passes, moving to a clean section of paper each time you see a greasy patch appear. You are wicking wax into the paper. Continue until fresh paper stays clean.
- Treat any leftover colour with dish soap worked in with a fingertip, leave 10 minutes, then launder at the highest temperature the care label allows.
- Air-dry and check before tumble-drying. Dryer heat sets a missed residue permanently.
Delicate fabrics
Silk, wool, viscose and anything labelled dry-clean-only should not meet an iron. Freeze and scrape the bulk, then take it to a cleaner and tell them it is candle wax and which dye colour was involved. Both facts change the solvent they reach for.
Removing candle wax from carpet and rugs
Carpet is deep pile over backing, so the risk is driving wax down where you cannot reach it. Work from the outside of the spill inward.
- Harden with ice in a sealed bag placed directly on the spill for 10–15 minutes. Do not apply loose ice; water in the backing is its own problem.
- Crack the wax with the back of a spoon and vacuum the fragments before they work back in.
- Lay a clean white cotton cloth or brown paper over the residue and press with a warm iron for a few seconds at a time, lifting to check. Never park the iron — synthetic carpet fibres melt.
- Rotate to a clean area of cloth after each pass until no more wax transfers.
- Blot the area with a little dish soap in warm water, then blot with clean water, then press dry under a towel weighted with a book.
Removing candle wax from walls and painted surfaces
Paint is the surface where heat does the most damage, because softened paint lifts with the wax. Favour cold and patience.
- Hold an ice pack against the splash for a few minutes until the wax turns matte and brittle.
- Lift an edge with a plastic scraper or an old gift card held at a shallow angle. Plastic only — metal scores paint.
- For the thin film left behind, hold a hairdryer on low about 15cm away and wipe gently with a soft cloth as it clouds. Work in small circles, and stop the moment the paint looks glossy or tacky.
- Finish with a barely-damp cloth and a drop of dish soap, then dry immediately.
Matte and chalk-finish paints are effectively porous. If wax has soaked in, cleaning will burnish the area to a different sheen. On those finishes, remove what lifts easily and plan on a touch-up coat rather than scrubbing to perfection.
Removing candle wax from wood
Sealed or varnished wood
- Chill with an ice pack for five minutes, keeping moisture off the surface.
- Slide a plastic scraper or your thumbnail under the edge and pop the disc off in one piece.
- Wipe the ghost film with a cloth dampened in warm water and a little dish soap, dry at once, then restore the sheen with your usual furniture polish.
Unsealed, oiled or waxed wood
Here the wax has partly entered the grain and cold scraping will not reach it. Cover the spot with a paper towel and pass a hairdryer over it on low until the towel darkens, replacing it until nothing more transfers. Then re-oil or re-wax the patch so it matches the surrounding finish — cleaning alone will leave a lighter square.
Removing candle wax from upholstery and leather
Upholstery follows the carpet method with one change: check the manufacturer's cleaning code first. A code of W allows water-based cleaning, S means solvent only, and X means vacuum only — on an X-coded fabric, freeze and scrape and stop there.
Leather is different again. Chill the wax, lift it with a fingernail rather than a tool, then buff the residue with a soft dry cloth. Heat will shrink and crack leather, so no iron and no hairdryer. Finish with a leather conditioner, because even a careful removal strips some surface oil.
Cleaning wax out of glass jars for reuse
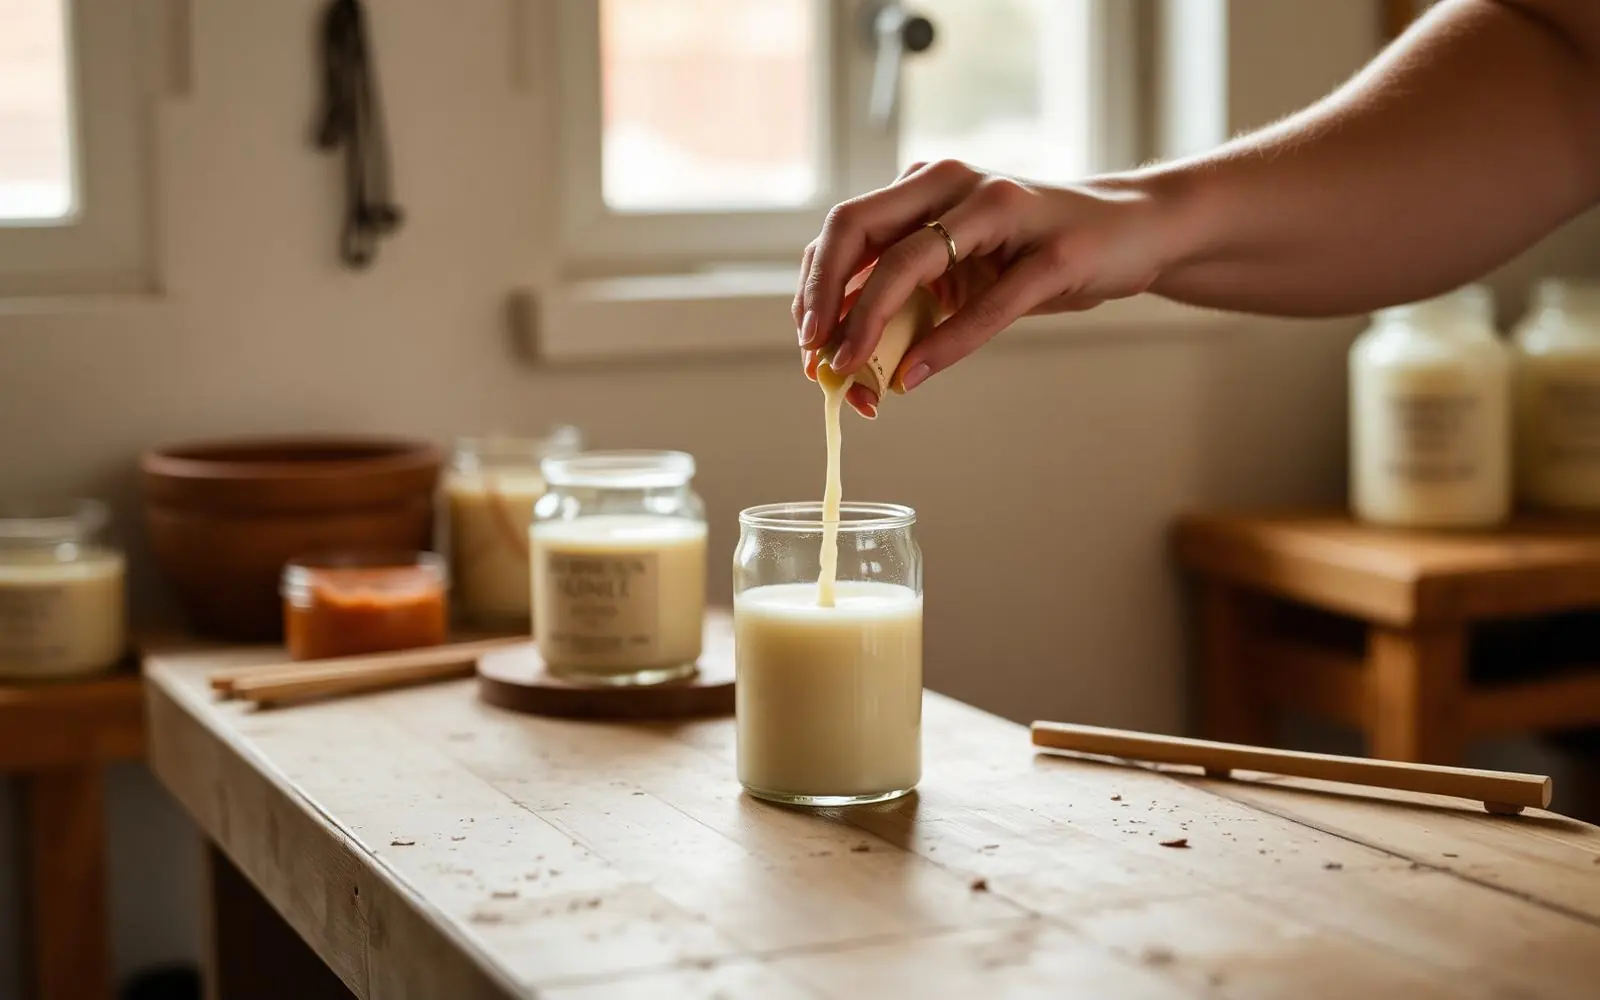
A finished candle jar is a good container, and soy wax releases from glass easily.
- Put the jar in the freezer for two hours. The wax plug contracts and usually lifts out with light pressure from a spoon handle.
- If it resists, pour boiling water into the jar to within a centimetre of the rim and leave it. The wax floats, then sets into a disc as the water cools, and you lift it out whole.
- Never pour melted wax down a sink. It resolidifies in the trap. Bin the disc.
- Remove the wick sustainer with pliers, wash the jar in hot soapy water, and clear any adhesive shadow with a little cooking oil on a cloth followed by a rewash.
Wax on skin
Run the area under cool water immediately — this both stops the burn and sets the wax. Do not peel wax off a blistered area; leave it in place and seek medical advice. On unbroken skin, the set wax will lift with gentle pressure once cool, and any film wipes away with a little olive or baby oil on a cotton pad.
Soy wax melts at roughly 49–57°C, well below paraffin's typical 57–65°C, which is why soy spills are usually startling rather than injurious. That is not a licence to test it.
Care habits that prevent spills and extend burn time
- Trim the wick to 5mm before every single burn. An untrimmed wick mushrooms, flickers, throws soot and pushes the flame off-centre — which is how wax ends up over the rim.
- Give the first burn enough time. Burn until the melt pool reaches the full diameter of the jar, usually two to four hours. Skip this and the candle sets a narrower memory ring and tunnels for the rest of its life.
- Cap each burn at four hours. Longer, and the glass overheats, the pool deepens and the wick leans.
- Keep candles out of draughts, away from vents and at least ten centimetres apart. Draughts are the single biggest cause of uneven, spilling burns.
- Snuff, do not blow. Blowing scatters liquid wax and sends smoke and soot into fabric nearby.
- Stop at ten millimetres of remaining wax. Below that the glass takes the heat directly and can crack.
- Always burn on a heat-resistant tray. A five-dollar tray is the cheapest wax-removal tool there is.
Frequently asked questions
- Does candle wax come out of clothes in a normal wash?
- Rarely on its own. Laundering without first freezing and ironing the wax out usually spreads a greasy halo and can set it, especially in a hot dryer. Remove the bulk mechanically first, then wash.
- Will an iron damage my carpet?
- It can. Synthetic fibres glaze or melt under sustained direct heat. Always work through a cloth or brown paper, use the lowest useful setting, press for a few seconds at a time, and test a hidden area first.
- How do I get coloured wax stains out of white fabric?
- Treat it as two problems. Remove the wax by freezing, scraping and ironing through paper, then treat the remaining pigment as a dye stain with an oxygen-based stain remover and a soak before washing.
- Is soy wax easier to remove than paraffin?
- Generally yes. Soy has a lower melt point and a softer set, so it scrapes off glass and hard surfaces more readily and wicks into paper at a lower iron temperature. On fabric the method is identical.
Shop what this guide talks about
- Signature soy candles
Coconut-apricot soy, which lifts off hard surfaces with warm water.
- Custom candles
Personalized labels on the same easy-clean soy base.
- Pet-safe candles guide
What to burn when there is a cat or dog in the room.
Sources & further reading
- Candle fire safety guidanceNational Fire Protection Association
- Candle care and burning standardsNational Candle Association