


Gift Givers: Make or Order Photo Candles, 2 DIY Transfers & Photo Tips

You can either make a photo candle at home with a simple transfer method or order a proofed custom photo candle, and both routes create memorable keepsakes. DIY suits a quick, personal gift or a craft afternoon, while ordering suits anyone who wants uniform print quality, multiple matching units, or a gift ready in days rather than hours. Below you’ll find design ideas, two reliable transfer methods, a supplies list, and tips for photographing the finished product.
TL;DR:
- DIY transfers are ideal for small batches, quick projects, or testing ideas, but they may have variability in quality and finish.
- The tissue-paper method creates a soft, blended look suitable for textured or colored jars, while packing-tape transfers deliver sharper, more photographic results on white jars.
- Proper photo selection emphasizes contrast and clear subjects, with black-and-white images often holding up better after heat transfer.
- A thorough test run, including feeding and heat testing, is essential before transferring images onto final candles to avoid mistakes and ensure adhesion.
- Commercial options provide consistent, high-quality prints with proofing and batch production, ideal for gifting or large orders requiring uniformity.
Table of Contents
- Photo candle ideas for gifts and home decor
- Two DIY transfer methods and how they compare
- Supplies to gather and a quick test-first workflow
- Choosing and editing photos that print well on wax
- How to photograph your finished photo candles
- When DIY makes sense and when it doesn’t
- A polished alternative when you’d rather skip the mess
- FAQ
- Sources
Photo candle ideas for gifts and home decor
Picking the right photo and candle pairing matters more than the transfer method itself. Here are concepts that work well across skill levels and occasions.
- Wedding keepsake: a close, well-lit portrait of the couple on a white jar candle with a metallic or foil label reads as elegant rather than homemade.
- Pet tribute: a tight close-up of a pet’s face, warmed with a sepia or black-and-white edit, looks striking on a small votive or a set of three.
- Memory collage: wrap three or four small photos as a horizontal band around a wider jar candle for a scrapbook effect without clutter.
- Anniversary timeline: print a small image from each year together in a vertical strip, so the candle reads top to bottom like a quiet timeline.
- Mini votive favors: cut photo strips to fit votives for place settings or party favors; this scales easily for a wedding or milestone birthday.
- Black-and-white portrait candle: a single strong portrait in black and white suits a mantel or shelf better than a busy color print.
- Baby milestone set: three small jars, each labeled with a month and a corresponding photo, make a nursery gift that grows with the child.
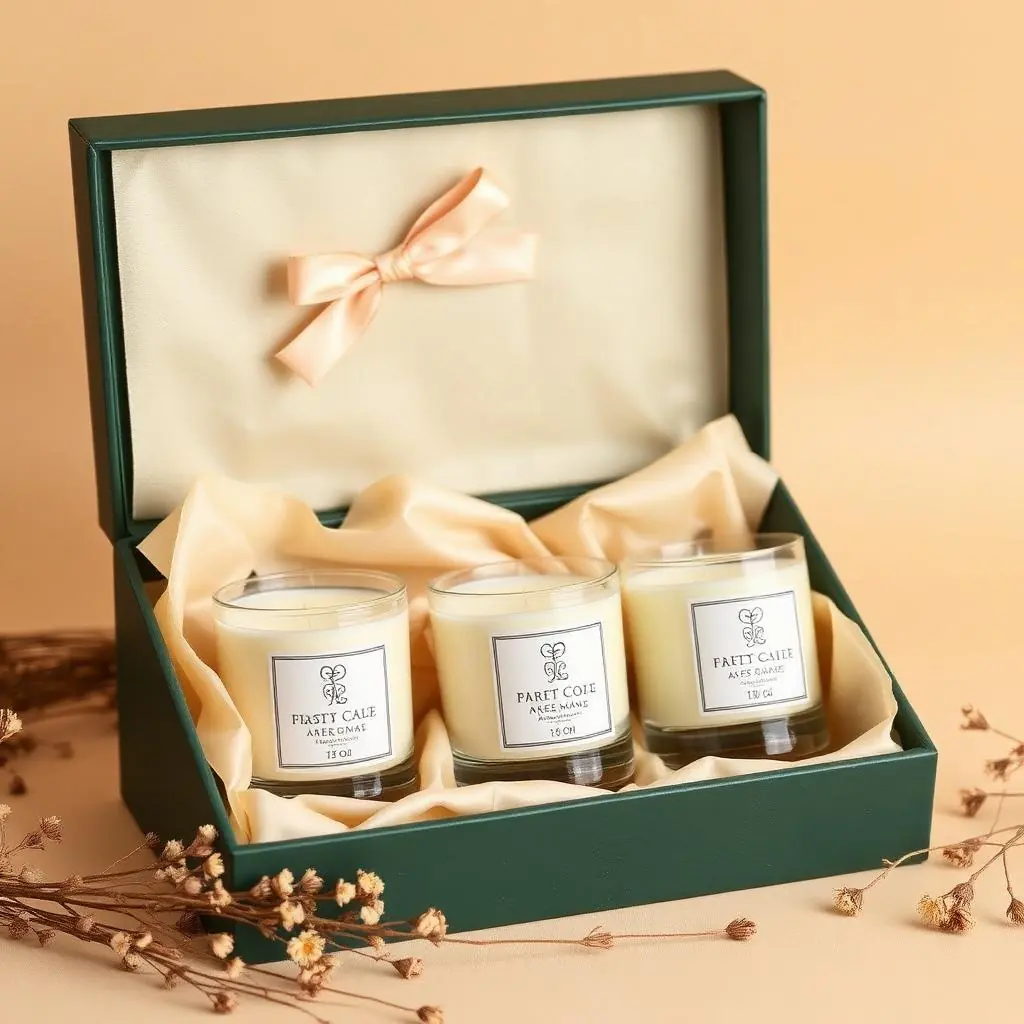
- Holiday photo ornament candle: pair a seasonal photo with a festive label and a ribbon tie for a gift that doubles as a table centerpiece.
- Travel memory candle: a landscape or landmark photo from a shared trip, cropped tight, works well on a taller pillar candle.
- Grandparent tribute: an older black-and-white family photo, enlarged and simplified, makes a quiet, sentimental gift that doesn’t need embellishment.
For more ways to personalize a home gift beyond the photo itself, from labels to packaging, Homable’s tips on personalizing home gifts cover small touches that make a candle feel considered rather than generic.
Two DIY transfer methods and how they compare
The two most reliable home methods are the tissue-paper transfer and the packing-tape transfer, and they produce different finishes.
- Tissue-paper transfer: reinforce a sheet of tissue paper onto regular printer paper, print your image, wrap it around the candle, cover it with wax paper, and apply heat with a hair dryer or heat gun until the tissue turns glossy and melts into the wax. This method, outlined by Corel’s Discovery Center, gives an integrated, soft-edged look that blends into the candle’s surface and handles collages or text well.
- Packing-tape transfer: print your image on a laser printer, burnish it face-down onto clear packing tape, soak it in warm water, rub away the paper fibers, and press the tape onto a white candle jar. This method takes about 15 minutes and gives the crispest, most photographic result, though it works best only on white surfaces.
In practice, tissue transfer suits colored or textured jars and gives a softer, more candle-like finish, while packing tape suits white jars and gives sharper detail in less time. Tissue transfer also tolerates slight heat variation better, since the goal is a melted, blended look rather than a flat printed one.
A few safety notes apply to both methods. Keep your heat source moving constantly rather than holding it in one spot, use an oven mitt when handling warm wax, and work over a towel to catch drips. LED candles can only take a heat transfer if they have a real wax outer layer, since the technique depends on melting actual wax to bond the image.
Pro Tip: Do one small test transfer on a scrap jar before committing your best photo to the real candle.

Supplies to gather and a quick test-first workflow
Before you print anything, lay out what each method needs so you’re not mid-project when you discover a gap.
- Tissue paper and plain printer paper (for reinforcing tissue before printing)
- Clear packing tape and a laser printer (packing-tape transfers won’t work with inkjet prints)
- Wax paper, a hair dryer or heat gun on a low setting, clothespins or small clips
- Scissors, a towel, an oven mitt, and plain white candles or jars
If you’re using the tissue method, tape the reinforced tissue to a full printer-paper sheet and feed it with the taped edge leading to avoid jams. The packing-tape method depends on a laser print specifically, since toner (not ink) is what burnishes cleanly onto tape.
Run a quick test before committing to a full batch: print one small sample, confirm it feeds correctly, test your heat tool on a scrap piece of wax, and check the gloss and adhesion before moving to your real candles. Let each test piece cool fully before judging it, since wax finishes change slightly as they set, and budget time for at least one reprint if your first attempt misfeeds or overheats.
Choosing and editing photos that print well on wax
Not every photo translates well to a curved, waxy surface, so a little editing goes a long way.
- Pick images with strong contrast and one clear focal subject rather than a busy group shot.
- Crop tightly to fit the candle’s visible band, since excess background just gets lost in the wrap.
- Raise contrast slightly before printing; wax and heat transfer both soften detail a bit.
- Consider a black-and-white conversion for portraits, since it tends to hold up better than muted color.
- If adding names or dates, use a large, high-contrast font and test it at the actual print size first.
Enlarging faces and trimming background clutter matters more on a small votive than on a larger jar, where you have more room to work with.
How to photograph your finished photo candles
Once your candle is done, a few deliberate shots show off the print quality far better than a single quick snapshot.
- Start with a hero shot of the unlit candle straight on, in soft natural light.
- Add a 45-degree angle shot to give the label some depth and dimension.
- Get a tight close-up on the printed image itself to show off detail.
- Light the candle for a lifestyle shot, adjusting exposure down slightly so the flame doesn’t blow out.
- Include one shot with packaging or held in hand for a sense of scale.
Soft window light and a white bounce card reduce harsh shadows better than direct sun. Diana Stainton’s guide to candle product photography recommends exactly this kind of shot sequence, paired with a simple neutral background and one or two props that reinforce the mood without pulling focus from the candle.
When DIY makes sense and when it doesn’t

DIY transfers are genuinely fun for a one-off gift, a craft night, or testing an idea before committing to it. They’re also forgiving: a slightly imperfect tissue transfer still reads as handmade and personal.
Ordering is a good option when you need several matching candles, a flawless print, or a gift that has to arrive on time without a test run. Proofing before printing can catch issues that a home setup can’t, which is worth considering for anything going to a client or a large group. Either way, test a single sample before scaling up.
— Jake
A polished alternative when you’d rather skip the mess
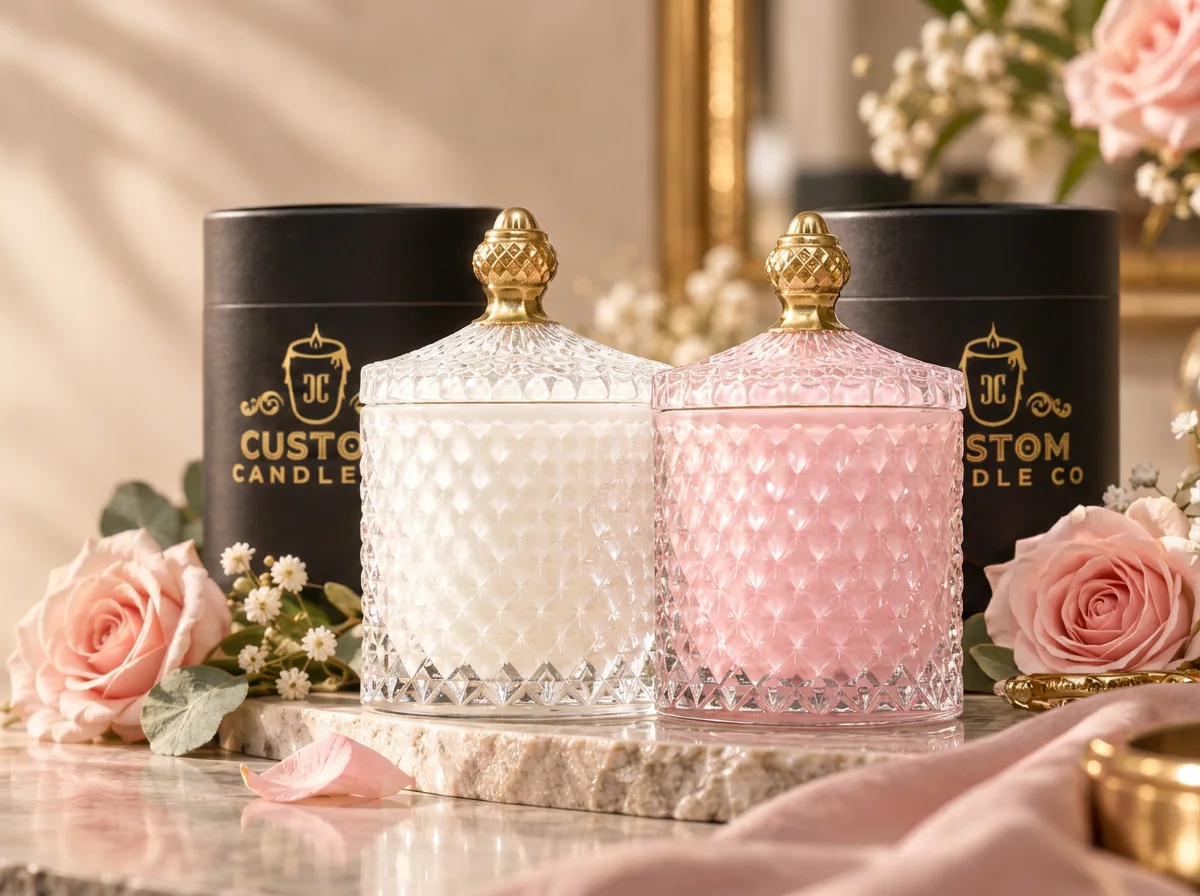
If a DIY afternoon isn’t what you’re after, we print personalized photo candles on soy jars, proofing each image for print and placement before it goes anywhere near production.
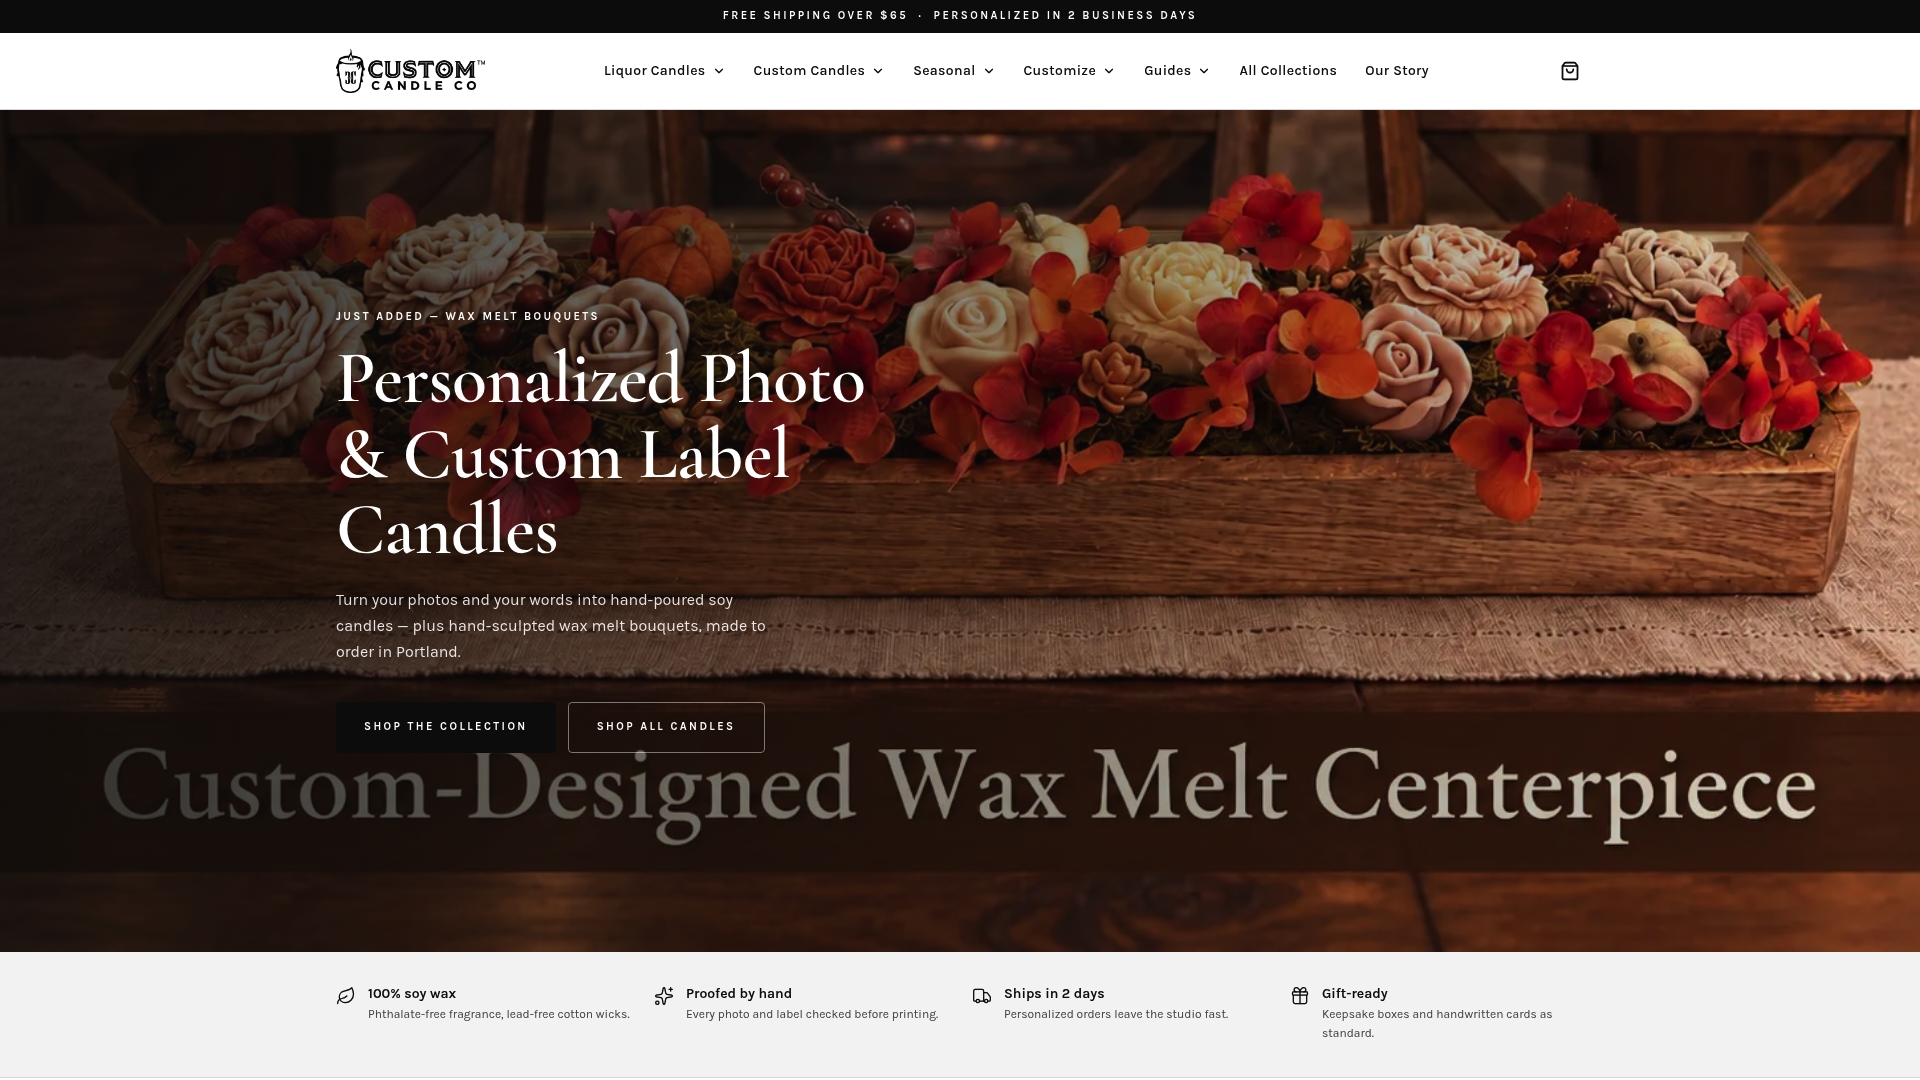
We use phthalate-free fragrances and lead-free wicks for our candles, and personalized orders ship quickly. This setup works well for a single sentimental gift, a run of matching wedding favors, or corporate gifting where consistency across a batch actually matters. Browse the full lineup of custom candles to see finish and jar options before you order.
FAQ
How can I make my own photo candles?
You can transfer a photo onto a candle using either a tissue-paper method, which involves printing on reinforced tissue and melting it into the wax with a heat gun, or a packing-tape method, which burnishes a laser print onto clear tape before applying it to a white jar. Both methods are detailed step by step in Corel’s photo transfer guide and It’s Always Autumn’s packing-tape tutorial.
What are some creative candle photo ideas?
Popular concepts include a wedding portrait on a white jar, a pet close-up on a small votive, a vertical anniversary timeline, and a baby milestone set with one jar per month. Mini votive favors with simple photo strips also work well for weddings or parties where you need several matching units.
What makes a good candle photo?
A good source photo has strong contrast, one clear subject, and minimal background clutter, since fine detail tends to soften during a heat transfer. Cropping tightly and considering a black-and-white conversion both help a portrait read clearly at candle scale.
What are the candle trends for 2026?
Photo and keepsake candles remain popular for weddings, pet tributes, and milestone gifts, alongside a broader move toward personalized home decor pieces that double as gifts. Within that trend, soy jar candles with proofed photo labels and simple, text-forward designs tend to outlast more novelty-driven styles.
Should I DIY my photo candle or order one?
DIY transfers suit a single gift, a craft project, or testing a design idea, while ordering suits bulk gifting or situations where you need guaranteed print quality without reprints. We proof every personalized candle before printing specifically to remove that uncertainty for gift-givers.
Sources
- Make a photo transfer on a candle - Corel Discovery Center
- How to Make Personalized Photo Candles
- How to Take Beautiful Candle Product Photos at Home — Diana Stainton Photography